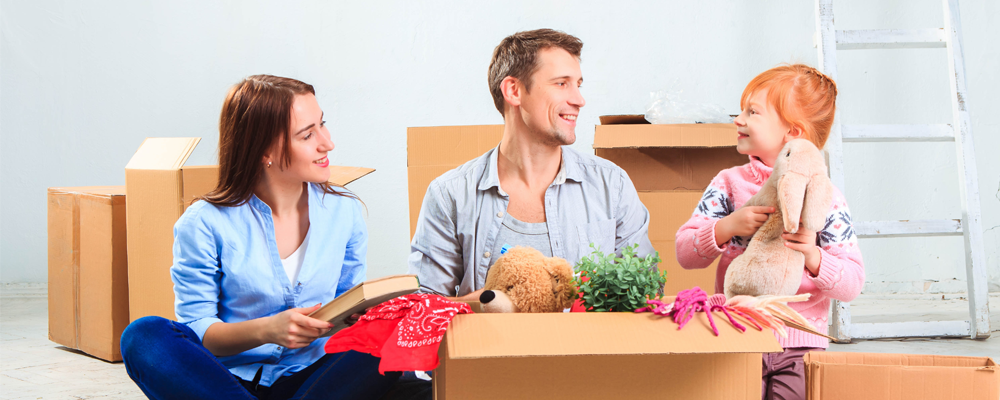
Moving home can be a taxing process – two-thirds of people rate it as being more stressful than breakups or getting a new job.
Moving home can be a taxing process –
two thirds of people rate it as being more stressful than breakups, divorce or getting a new job. That doesn’t mean that moving your pets should add to your anxiety levels too. Instead, having a plan in place can keep everyone calm – your pets included. Here are five simple steps to a happy move.
Step 1) Separate your pets from the move We wouldn’t normally recommend leaving your pets until the last thing to move but if you have cats or dogs it’s advisable to find somewhere quiet which will keep them out of trouble while you’re packing up. One solution is to clear a room and shut your pets in – you don’t want to be searching for your cats on moving day to discover that your pooch has drifted out of an open door. Of course, you’ll need to regularly check on them and leave them with fresh food and water – and it’s a good idea to take them for walks as normal, to maintain their routine in the midst of the chaos. You’ll also want to make sure that they’re not left with packed boxes to rip up or precariously placed valuables that could be found broken. Finally, you’ll want to ensure that your movers are aware of what pets you have beforehand so they know not to leave the door open. An alternative, which may well make life simpler, is just to leave them with a sitter, trusted friend, or at a kennel for the day.
Step 2) Prepare for the road Next, you’ll want to make sure that everything is set for the transfer from your current home to your destination. This could include leaving a cat carrier out for a few days so your cat can get use to the box, ensuring your car is fitted with blankets or towels, and place their favourite toys in the car or new place so they have a little piece of home with them at all times. It’s also a good idea to pack an overnight bag so that you have everything on hand with you in your vehicle – and if you can’t find the rest of your supplies amidst all the boxes, then you and your pet won’t need to panic.
Step 3) Hit the road For the actual drive, you’ll need to make sure that your animals are suitably contained. That might mean putting your pets in a harness – or, to help them deal with the unusual amount of stress, to put them in a carrier. In the meantime, don’t let them out until you’ve arrived. Try to keep a small bowl on hand in case you need to stop and they need fresh water. If you’re moving fish then putting them in a bag should be sufficient for short distances (and double bagging protects against rips and tears); for longer journeys, it may be a better idea to find them a new home more locally. Birds and reptiles, meanwhile, will benefit from being moved in a secure container, with all moving objects removed for their safety.
Step 4) Update their details If your pets are tagged or microchipped – or have a home phone number on their collar – then you’ll want to update that as soon as you’ve reached your new home or if possible the morning of your move. You’ll also want to look up vets in your new area beforehand and see if you can get your records transferred over or in case of an emergency in your first few weeks.
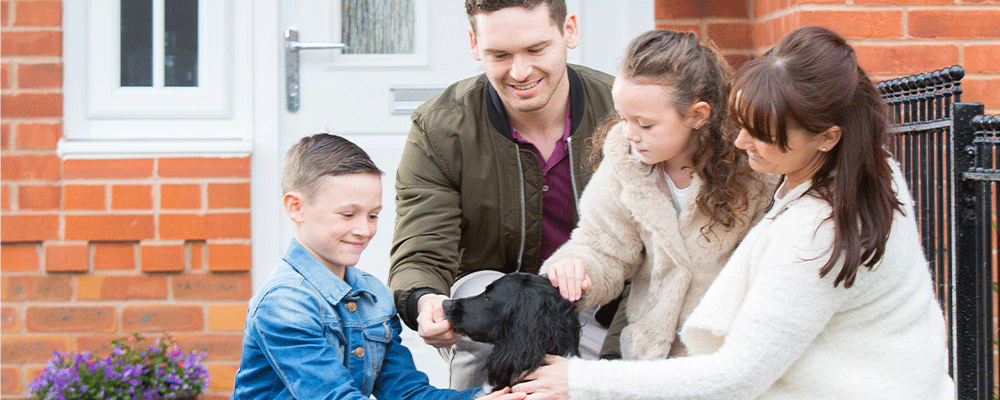
Step 5) Settle them in You should make sure you have somewhere set up for your pets as soon as you arrive in your new home, kitted out with their familiar bed, blanket and toys – and you then need to try to keep them there as much as possible. It’ll take them a while to adjust to their new environment, so settle them in in a single room before giving them the run of the house. Although you know your pet best and if they are naturally curious allow them to roam but keep a close eye on their whereabouts as the house will surely have unexpected items they could get into. You should take your doggies (or kitties!) for their regular walks, keep their feeding schedule as close to normal as possible, and of course give them extra cuddles. Then, when you’re ready to let them in the garden, make sure to give it a thorough check over first to ensure that there are no holes in or under the fences. With the hard work done, you can then all go about enjoying your new home! For more information on purchasing a home, check out our helpful
video on Help to buy!